


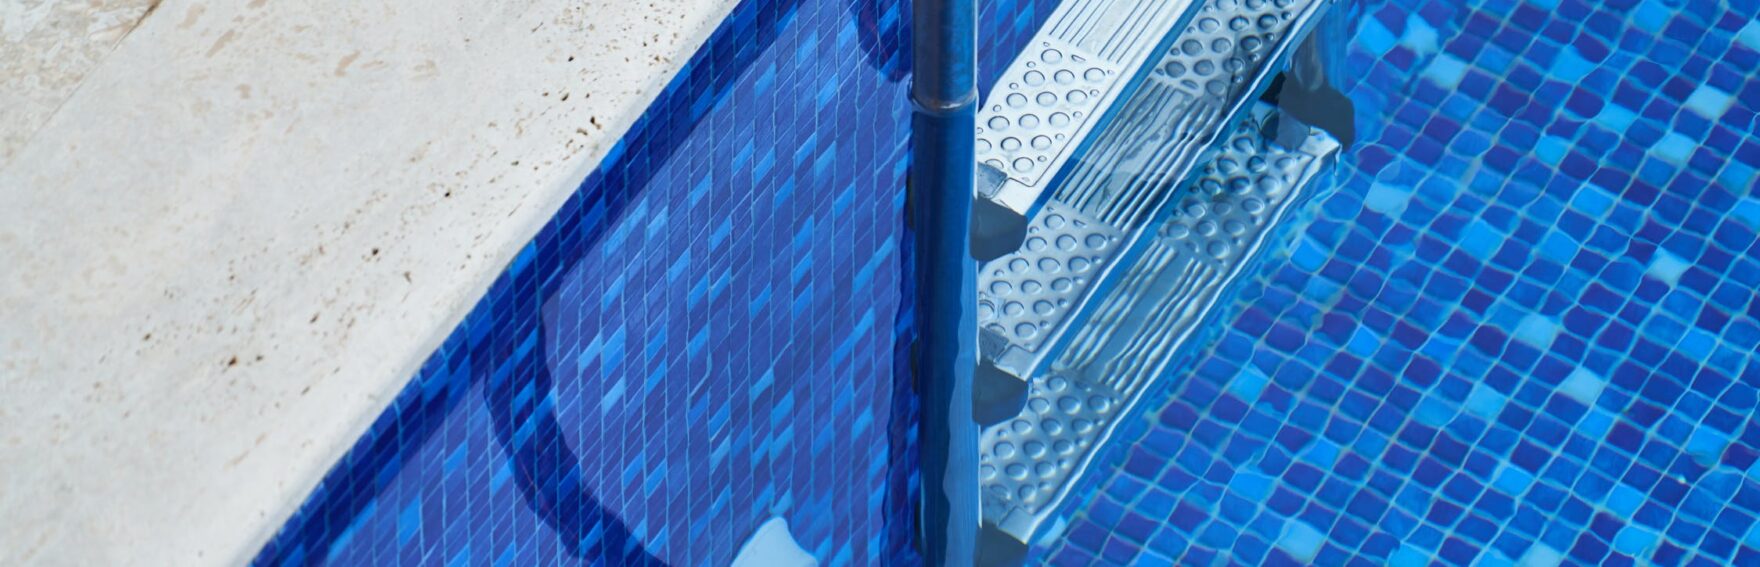
How to Clean Pool Tile: A Complete Guide for Removing Calcium, Scale, and Waterline Buildup
A backyard swimming pool can be one of the most enjoyable parts of an Arizona home. It gives families a place to cool off, entertain guests, exercise, and relax during the hottest months of the year. Keeping the water clean is important, but maintaining the tile around the waterline is just as important for both appearance and long-term maintenance.
Over time, pool tile naturally collects calcium deposits, hard water scale, sunscreen, body oils, algae, dirt, and other contaminants. As water evaporates, these materials are left behind, eventually creating the familiar white or gray ring that many pool owners notice around the waterline. If left untreated, this buildup becomes harder to remove and can permanently affect the appearance of your pool tile.
If you’re wondering how to clean pool tile, the first step is understanding what type of buildup you’re dealing with. Some stains and deposits can be removed using simple household tools and pool-safe cleaning products, while others require specialized equipment and professional cleaning methods to avoid damaging the tile.
In this guide, you’ll learn how to identify different types of pool tile buildup, which cleaning methods are safest and most effective, what tools professionals use, when you can confidently tackle the job yourself, and when it’s worth calling in an expert. You’ll also learn practical maintenance tips that can help keep your pool tile cleaner and reduce future calcium buildup.
Why Pool Tile Gets Dirty
No matter how clean your pool water looks, the tile around the waterline is constantly exposed to minerals, oils, and debris. As water splashes against the tile and evaporates, it leaves behind tiny amounts of dissolved minerals and contaminants. Over time, these deposits accumulate into the visible ring that many pool owners notice around the edge of the pool.
In the Phoenix area, hard water is one of the biggest reasons pool tile develops stubborn white or gray buildup. Arizona’s water contains naturally occurring minerals like calcium and magnesium. As pool water evaporates in the desert heat, those minerals remain behind and gradually harden into scale. The longer they remain on the tile, the more difficult they become to remove.
Mineral deposits are only part of the problem. Pool tile is also exposed to:
- Sunscreen and body oils from swimmers
- Dirt, dust, and pollen carried by wind
- Leaves, grass, and organic debris
- Algae and biofilm that develop in damp areas
- Pool chemicals that leave residue over time
- Soap or detergent residue from swimsuits and pool toys
Many homeowners assume these stains are simply dirt, but different types of buildup require different cleaning methods. For example, light organic grime can often be removed with a soft brush and a pool-safe cleaner, while hardened calcium scale may require specialized products or professional media blasting.
The sooner buildup is removed, the easier it is to clean. Waiting until the deposits become thick and crusted can turn what would have been a simple cleaning job into a much more labor-intensive project.
Understanding what is causing the buildup is the first step toward choosing the safest and most effective cleaning method for your pool tile.
Common Types of Pool Tile Buildup
Not every stain or deposit on your pool tile is the same. Before choosing a cleaning product or scrubbing tool, it’s important to identify the type of buildup you’re dealing with. Using the wrong cleaning method can waste time, damage delicate tile finishes, or simply fail to remove the problem.
Most pool tile buildup falls into one of four categories: calcium carbonate, calcium silicate, organic buildup, and metal staining. Each develops for different reasons and requires a slightly different approach to remove safely.
Calcium Carbonate
Calcium carbonate is the most common type of pool tile scale and is usually the easiest to remove. It forms when dissolved calcium in pool water is left behind as water evaporates. This type of buildup typically appears as a white, chalky, flaky deposit along the waterline.
In Arizona, where hard water is common, calcium carbonate can begin forming surprisingly quickly if water chemistry isn’t properly maintained.
Signs you’re dealing with calcium carbonate include:
- White or off-white deposits along the waterline
- A rough or chalky texture
- Flakes that can sometimes be scraped away
- Buildup that responds to acidic cleaners [VERIFY]
Because it sits on the surface of the tile, early calcium carbonate buildup can often be removed using pool-safe calcium removers, gentle scraping tools, or careful hand scrubbing before it has a chance to harden.
Calcium Silicate
Calcium silicate is much harder than calcium carbonate and develops after mineral deposits remain on the tile for an extended period. Instead of appearing chalky or flaky, it often looks darker gray, dense, and extremely hard.
Unlike calcium carbonate, calcium silicate does not dissolve easily with acidic cleaners and can become bonded tightly to the tile surface.
Common signs include:
- Dark gray or gray-white deposits
- Extremely hard, rock-like texture
- Little or no reaction to acidic cleaners
- Heavy scaling that has accumulated over many months or years
This type of buildup is often beyond what most homeowners can safely remove with hand tools alone. Professional cleaning methods such as glass bead blasting or other specialized media blasting techniques are frequently the safest way to remove thick calcium silicate without damaging the tile surface.
 Organic Buildup and Algae
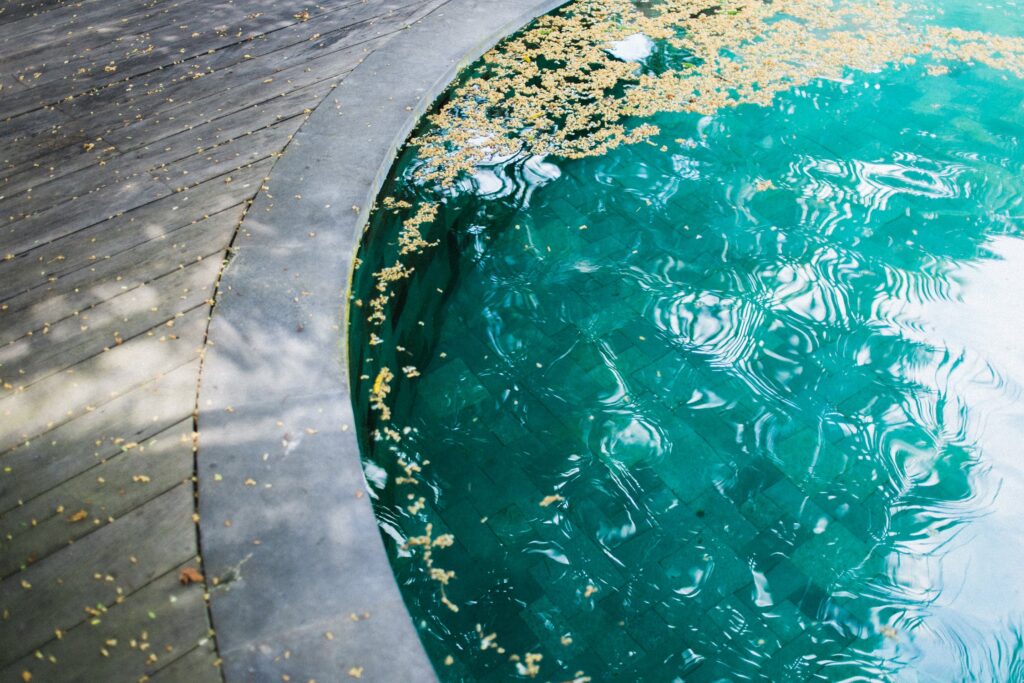
Not every stain around the waterline is calcium. Oils, sunscreen, pollen, leaves, dirt, insects, and algae can all create a slimy or discolored film on the tile.
Unlike mineral scale, organic buildup generally feels soft or slippery rather than rough and crusty. Green, brown, black, or yellow discoloration may indicate algae growth, while greasy residue is often caused by body oils and sunscreen accumulating at the waterline.
Fortunately, this type of buildup is usually much easier to remove with regular brushing and a pool-safe tile cleaner before it has time to harden.
Metal Stains
Less commonly, pool tile may develop stains caused by dissolved metals in the water, including iron, copper, or manganese. These stains can appear as brown, orange, blue-green, or even black discoloration.
Metal staining is often confused with calcium scale, but scrubbing alone usually won’t remove it. Instead, the underlying source of the metals should be identified and corrected before attempting stain removal.
If you’re unsure whether you’re dealing with mineral scale, algae, or metal staining, it’s best to identify the type of buildup first. Choosing the correct cleaning method from the beginning can save hours of unnecessary work and help prevent damage to your pool tile.
Can You Clean Pool Tile Yourself?
In many cases, yes. If the buildup is light and you’ve caught it early, most homeowners can clean pool tile themselves using the right tools, pool-safe cleaning products, and a little patience. Regular maintenance is often enough to remove organic residue, light waterline stains, and early calcium deposits before they become a bigger problem.
However, not every pool tile cleaning job is a good candidate for DIY methods. Thick calcium scale, years of mineral buildup, and heavily stained tile often require specialized equipment that isn’t practical for most homeowners. Using aggressive tools or harsh chemicals can also scratch the tile, damage grout, or create safety hazards if used incorrectly.
As a general guideline:
DIY Pool Tile Cleaning Is Usually Appropriate When:
- The buildup is light to moderate.
- Deposits are mostly white and chalky rather than thick and rock-hard.
- The tile still feels relatively smooth beneath the deposits.
- You clean your pool regularly and haven’t allowed years of buildup to accumulate.
- You have access to pool-safe cleaning products and non-abrasive tools.
With consistent maintenance, many homeowners can keep their waterline tile looking clean without needing professional restoration.
 Professional Cleaning May Be the Better Option When:
- Thick calcium scale covers much of the waterline.
- Deposits have become extremely hard and difficult to scrape.
- Previous cleaning attempts have had little effect.
- Glass tile, natural stone, or other delicate surfaces require extra care.
- You want to restore the original appearance without risking damage to the tile or grout.
- The buildup extends around the entire perimeter of a large pool.
Professional pool tile cleaning companies often use specialized media blasting systems that remove heavy calcium deposits while minimizing damage to the tile surface. Depending on the type of tile and buildup, they may use glass bead blasting or other low-abrasion media specifically designed for pool tile restoration.
Avoid Common DIY Mistakes
Many homeowners unintentionally make pool tile buildup worse by using cleaning methods that are too aggressive.
Avoid:
- Using metal putty knives or wire brushes that can scratch tile.
- Applying highly concentrated acids without proper safety precautions. [VERIFY]
- Mixing different household cleaning chemicals.
- Using pressure washers at close range on grout or delicate tile.
- Waiting until buildup becomes several years old before cleaning.
The earlier you remove mineral deposits and organic residue, the easier the job will be. A small amount of routine maintenance is almost always less expensive and less time-consuming than restoring heavily scaled pool tile.
How Often Should You Clean Pool Tile?
There isn’t a one-size-fits-all schedule for cleaning pool tile. How often your pool needs attention depends on several factors, including your local water quality, how frequently the pool is used, your water chemistry, and how quickly mineral deposits accumulate around the waterline.
For many homeowners, a quick inspection every week or two is enough to catch early signs of buildup before they become difficult to remove. If you notice a faint white ring, oily residue, or light discoloration, it’s much easier to clean it immediately than to wait until it hardens into thick calcium scale.
If you live in an area with hard water, such as much of the Phoenix metropolitan area, calcium deposits can develop more quickly due to the higher concentration of dissolved minerals in the water. Combined with Arizona’s high summer temperatures and rapid evaporation, this can accelerate waterline buildup throughout the year.
A Simple Pool Tile Maintenance Schedule
Following a consistent maintenance routine can help prevent stubborn buildup and reduce the need for intensive cleaning later.
Weekly
- Inspect the waterline for white deposits, discoloration, or oily residue.
- Brush the waterline tile during your regular pool maintenance.
- Remove leaves, dirt, and floating debris before they have a chance to leave stains.
Monthly
- Wipe or scrub any visible waterline buildup using a pool-safe tile cleaner.
- Check for rough areas that may indicate early calcium scale.
- Test and balance your pool water to help minimize future mineral deposits.
Every 3 to 6 Months
- Perform a more thorough inspection of the entire waterline.
- Clean areas that may be hidden behind ladders, handrails, water features, or pool equipment.
- Inspect grout for signs of staining, deterioration, or excessive buildup.
Annually or As Needed
- If calcium deposits have become thick, hard, or cover large sections of the waterline, consider scheduling a professional pool tile cleaning before the buildup becomes even more difficult to remove.
- Professional cleaning can often restore the original appearance of the tile without requiring replacement when performed before severe deterioration occurs.
Signs Your Pool Tile Needs Cleaning
Rather than relying strictly on a calendar, pay attention to what your pool is telling you. Common signs that it’s time to clean your pool tile include:
- A visible white, gray, or tan ring forming around the waterline.
- Rough or gritty tile that no longer feels smooth.
- Slimy or slippery residue caused by oils or algae.
- Dark stains or discoloration that don’t rinse away.
- Mineral deposits beginning to extend above or below the waterline.
- Tile that has lost its original shine or appearance.
The key is to address buildup while it’s still relatively light. Waiting until deposits become thick and rock-hard usually means more scrubbing, stronger cleaning products, or professional restoration methods will be needed.
Consistent maintenance not only keeps your pool looking its best, but it can also help extend the life of your tile, grout, and surrounding pool finishes by preventing excessive mineral accumulation over time.
Step-by-Step Guide: How to Clean Pool Tile
Cleaning pool tile doesn’t have to be complicated, but using the right method for the type of buildup you’re dealing with is important. Starting with the least aggressive cleaning technique helps protect your tile while giving you the best chance of removing deposits without causing unnecessary damage.
If you’re unsure how severe the buildup is, begin with simple cleaning methods before moving on to stronger products or more abrasive techniques.
Step 1: Gather the Right Tools and Supplies
Before you begin, gather everything you’ll need. Using the proper tools makes the job easier while reducing the risk of scratching or damaging your pool tile.
Helpful supplies include:
- Pool-safe tile cleaner
- Plastic scraper
- Soft nylon scrub brush
- Non-abrasive scrubbing pad
- Microfiber cloths
- Small grout brush or old toothbrush
- Bucket of clean water
- Protective gloves
- Safety glasses when using commercial cleaning products
For stubborn calcium buildup, you may also need a pumice stone designed for pool tile. Always keep both the pumice stone and the tile wet during use to reduce the risk of scratching. Test it on an inconspicuous area first, especially if you have glass tile or decorative finishes.
Step 2: Remove Debris From the Pool
Before focusing on the tile, remove floating leaves, insects, and other debris with a skimmer or pool net. If excessive debris remains in the water while you’re cleaning, it can quickly settle back onto freshly cleaned surfaces.
If needed, vacuum the pool and empty skimmer baskets before beginning.
Step 3: Lower the Water Level Slightly
Lowering the water a few inches below the waterline makes cleaning much easier because the entire area of buildup becomes accessible.
This allows you to:
- Reach the full mineral ring.
- Keep cleaning products concentrated on the tile instead of immediately washing into the pool.
- Better inspect grout lines and corners.
If you only have a small section of buildup, lowering the water level may not be necessary.
Step 4: Start With the Least Aggressive Cleaning Method
Whenever possible, begin with gentle cleaning before moving to stronger products.
Apply a pool-safe tile cleaner according to the manufacturer’s directions and allow it to remain on the surface for the recommended amount of time. [VERIFY]
Using a soft nylon brush, scrub the tile in small circular motions while applying even pressure. Focus on two- to three-foot sections at a time rather than attempting to clean the entire pool at once.
For light buildup, this may be all that’s required.
Step 5: Remove Organic Dirt, Oils, and Light Staining
If the deposits appear greasy or slimy rather than hard and crusty, you’re likely dealing with organic buildup instead of calcium scale.
Many homeowners have success removing light organic residue using one of the following:
- A pool-safe tile cleaner
- A diluted vinegar solution for above-waterline deposits only [VERIFY]
- Mild dish soap and warm water for cleaning tile above the waterline [VERIFY]
After scrubbing, rinse the area thoroughly before moving on.
Avoid allowing household cleaners to enter the pool water unless they are specifically labeled as safe for pool use.
Step 6: Tackle Calcium Scale Carefully
If white mineral deposits remain after normal scrubbing, calcium scale is likely present.
At this stage:
- Reapply a calcium-removing pool tile cleaner.
- Allow the product time to work according to the label directions.
- Use a plastic scraper to gently lift softened deposits.
- Continue scrubbing with a nylon brush between applications.
Avoid forcing deposits off the tile with excessive pressure. Several lighter cleaning passes are generally safer than one aggressive attempt.
Step 7: Use a Pumice Stone Only When Necessary
For stubborn mineral deposits that remain after chemical cleaning, a pumice stone can sometimes remove the remaining buildup.
Keep both the tile and the pumice stone wet throughout the process.
Work slowly using light pressure and small circular motions.
Do not use excessive force, as this increases the risk of scratching certain tile finishes. Glass tile, polished surfaces, and some decorative materials may require alternative cleaning methods.
Step 8: Know When to Stop
One of the biggest mistakes homeowners make is continuing to scrub after it becomes clear that normal cleaning methods aren’t working.
If you’ve:
- Applied multiple treatments,
- Scrubbed thoroughly,
- Carefully used appropriate scraping tools,
and the buildup still isn’t coming off, the deposits have likely become too hard for traditional DIY cleaning.
Continuing to scrub harder usually doesn’t improve the results and may begin damaging grout, glaze, or decorative tile finishes.
At this point, professional media blasting is often the safest and most effective option.
Step 9: Rinse Everything Thoroughly
After cleaning each section, rinse the tile thoroughly with clean water to remove loosened minerals and any remaining cleaning solution.
Inspect the tile from multiple angles in direct sunlight if possible. Remaining calcium deposits often become much easier to see once the surface has dried.
Touch up any remaining light deposits before moving to the next section.
H3: Step 10: Restore Proper Pool Water Levels
If you lowered the water level before cleaning, refill the pool and restore normal circulation.
Afterward, test your pool’s water chemistry and rebalance it if necessary. Maintaining proper water balance can help reduce future calcium buildup and extend the time between deep cleanings.
Remember that no cleaning method completely prevents future mineral deposits. Regular brushing, balanced water chemistry, and routine inspections remain the best way to keep your pool tile looking clean throughout the swimming season.





No Comments
Sorry, the comment form is closed at this time.